

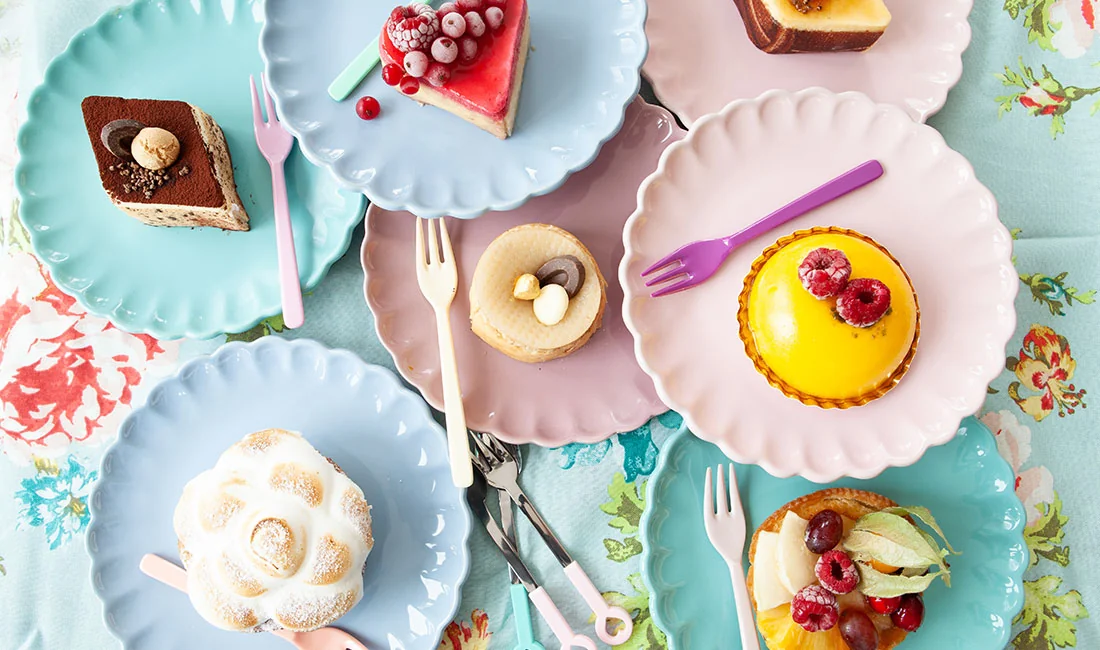
A clean, stylish dessert table makes every event feel intentional. You want treats to look appealing, stay easy to serve, and avoid mess.
The right tableware helps you reach that goal without extra effort. Small plates keep portions neat, clear cups show off layers, and mini spoons make tasting simple and tidy.
Each piece plays a clear role in how your table looks and works. This guide covers how to pick plates that fit desserts, cups that display food well, and utensils that feel comfortable.
You’ll also get ideas on matching pieces for a unified look and setting up a dessert table that stays clean from start to finish.
Choosing the Right Dessert Plates
The plates you choose shape the look and function of your dessert table. Plate type, material, and size all affect how clean the setup feels and how easy it is for guests to serve themselves.
Types of Dessert Plates
You can pick from dessert plates, mini dessert plates, and appetizer plates depending on portions and table space. Mini and compact plates work best for tastings, dessert bars, and events with many items.
They help control portions and reduce mess.Square mini plates create a modern look and help desserts stand out.
Round plates feel more traditional and fit most setups. Disposable plates suit large events or quick cleanup needs.
Reusable options fit smaller gatherings or formal settings. Popular picks include Toflen mini dessert plates for clean, simple layouts and Gothabach mini dessert plates for a slightly decorative look.
If you need volume, a 100 pack mini plates set keeps things consistent and easy to manage.
Material and Safety Considerations
You should always check that plates use food-safe materials. Many disposable plates use food-grade PS, which supports cold and room-temperature desserts.
This material works well for mousse cups, cakes, and fruit. Plastic disposable plates reduce breakage and speed up cleanup.
Options like Exquisite mini disposable plates offer a clean finish without looking cheap. Reusable ceramic or porcelain plates add weight and stability but need more careful handling.
Use this table to compare common materials
| Material | Best Use | Notes |
|---|---|---|
| Food-grade PS | Parties, buffets | Lightweight, disposable |
| Melamine | Casual events | Reusable, not microwave-safe |
| Ceramic | Formal dining | Heavier, breakable |
Sizes and Shapes for Elegant Presentation
Most dessert plates measure 6 to 8 inches, which suits cake slices and pastries. Mini dessert plates range from 4 to 5 inches and work well for small portions or tasting menus. Compact plates also save table space.
Shape affects layout. Square mini plates frame desserts with sharp lines and a modern vibe. Round plates feel softer and work better for traditional sweets.
Flat plates suit cakes and tarts, while shallow bowls handle soft desserts. When you plan a mixed dessert table, pair mini plates with cups and spoons.
This keeps portions clear and prevents overcrowding. Choose plate sizes that match the dessert, not just the appetite.
Selecting Dessert Cups for Stunning Displays
The right cups shape the look and flow of your dessert table. Shape, size, and features like lids affect how desserts look, serve, and stay fresh.
Smart choices also support clean service and easy setup.
Popular Dessert Cup Styles
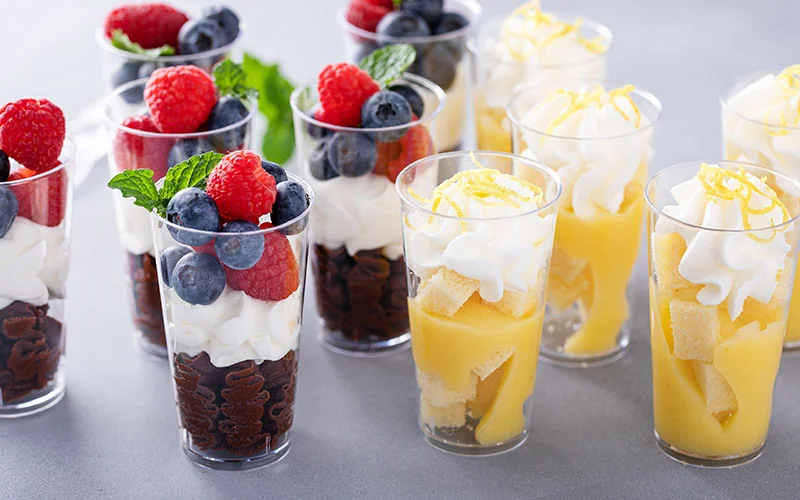
You can match dessert cups to the type of dessert you plan to serve. Tall, narrow cups show off layers like parfaits and trifles.
Wide cups work better for mousse, pudding, or no-bake cheesecake.Plastic dessert cups remain a common choice because they feel light, stack well, and don’t break easily.
Clear plastic helps guests see colors and textures, which improves presentation. Common styles include:
● Straight-sided cups for clean, modern displays
● Angled or flared cups for visual interest
● Square cups for contemporary dessert tables
Pick a consistent style to keep the table looking organized.
Using Dessert Cups with Lids
Dessert cups with lids help you control hygiene and timing. You can prep desserts in advance, seal them, and store them without losing freshness.
Lids also support self-serve setups. Guests can grab a cup without touching the dessert, which keeps things clean—especially at large events or outdoors.
Some lids include a slot for mini spoons, which keeps utensils paired with each serving and reduces clutter.
Use lidded cups for:
● Outdoor events
● Buffets with long service times
● Desserts with soft toppings or sauces
Clear lids preserve visibility while adding protection.
Portion Control and Serving Ideas
Cup size affects both appearance and waste. Small cups help you serve rich desserts without overfilling plates.
Most dessert cups fall between 2 and 5 ounces, which suits single servings. You can use smaller cups to offer variety.
Guests get to sample more flavors without feeling full too fast. This works well for tasting tables and dessert bars.
Below is a simple size guide:
| Cup Size | Best Use |
|---|---|
| 2–3 oz | Dense or rich desserts |
| 4 oz | Layered or creamy desserts |
| 5 oz | Light or fruit-based desserts |
Mini Spoons and Tasting Utensils: Function and Form
Mini spoons and tasting utensils really shape how clean, easy, and polished your dessert table feels. Size, shape, and material matter because they control portion size, reduce mess, and help desserts look intentional instead of crowded.
Best Uses for Mini Spoons
You grab mini spoons when desserts are soft, layered, or served in cups. They work best for pudding, mousse, yogurt, custard, and ice cream.
A short handle gives control and keeps hands away from the food. Tasting spoons also help with sample portions.
They limit waste and keeping guests from over-serving. This works well at events with lots of dessert options.
Common uses include:
● Dessert cups and mini jars
● Sauce tastings and jam samples
● Mini dessert plates with spoons
Clear plastic mini spoons blend into most table settings, while metal or compostable options feel more formal or eco-focused.
Choosing Between Spoons and Forks
Pick a dessert spoon when the dessert won’t hold its shape. Cheesecake cups, tiramisu, and creamy pies need scooping, not cutting.
A spoon keeps layers intact. Tasting forks work better for firm or baked items like brownies, cake squares, and fruit tarts.
Forks also reduce smearing on plates.Here’s a quick guide:
| Dessert Type | Best Utensil |
|---|---|
| Mousse, pudding | Mini spoon |
| Cake, brownies | Tasting fork |
| Mixed texture | Spoon or fork |
Match the utensil to how the dessert breaks apart.
Matching Utensils to Plate Styles
Utensils should match plate size and shape. Mini dessert plates with spoons pair well with round plates and bowls.
The spoon curve mirrors the plate and looks balanced. Mini dessert plates with forks work better with square or flat plates.
The straight fork lines match sharp edges and structured desserts.Keep these rules in mind:
● Small plates need short utensils
● Clear plates pair well with clear utensils
● Matte plates look better with solid-color utensils
Coordinated Tableware Sets for Cohesive Events
Coordinated dessert tableware keeps your setup clean, organized, and easy to serve. When plates, cups, and utensils share the same style and size, you reduce mess, speed up service, and improve how the table looks in photos.
Matching Plates, Spoons, and Cups
Matching dessert pieces help you control portions and avoid spills. Mini dessert plates with spoons work well for puddings, mousses, and soft cakes.
Mini dessert plates with forks suit tarts, brownies, and layered slices. Use the same color and finish across all items to keep the table balanced.
Matte plates pair well with clear dessert cups, and glossy plates work best with smooth plastic spoons.
What to match for best results:
● Plate size to dessert type
● Spoon or fork shape to texture
● Cup height to serving volume
Brands like Toflen mini dessert plates and Gothabach mini dessert plates offer consistent sizing, which helps when you plate in advance.
Branded and Themed Sets
Branded and themed sets help you support a clear event style. You can align dessert tableware with wedding colors, holiday themes, or business branding without custom orders.
Neutral tones like white, black, or kraft fit most events. Gold or silver rims add contrast without clutter.
For upscale events, exquisite mini disposable plates create a polished look while staying practical.
Common theme pairings:
| Event Type | Plate Color | Utensil Finish |
|---|---|---|
| Wedding | White or ivory | Gold |
| Corporate | Black or gray | Clear |
| Birthday | Pastel or bold | White |
Printed logos or subtle textures add detail without distracting from the desserts.
Convenience of Bundled Packs
Bundled packs save time and reduce ordering errors. You get plates, cups, and utensils in one box, all designed to work together.
A 100 pack mini plates set works well for large dessert tables or buffet-style service. You can plate desserts faster and restock without mixing styles.
Bundled sets also make storage and transport easier since everything stacks evenly and takes up less space.
Key benefits of bundled packs:
● Faster setup and cleanup
● Fewer missing or mismatched items
● Better cost control per guest
Setup Tips for a Clean and Stylish Dessert Table
A clean dessert table depends on smart layout, safe handling, and simple cleanup. You improve both style and function when you place tableware with care, control mess, and plan for waste or reuse from the start.
Arranging Tableware for Visual Impact
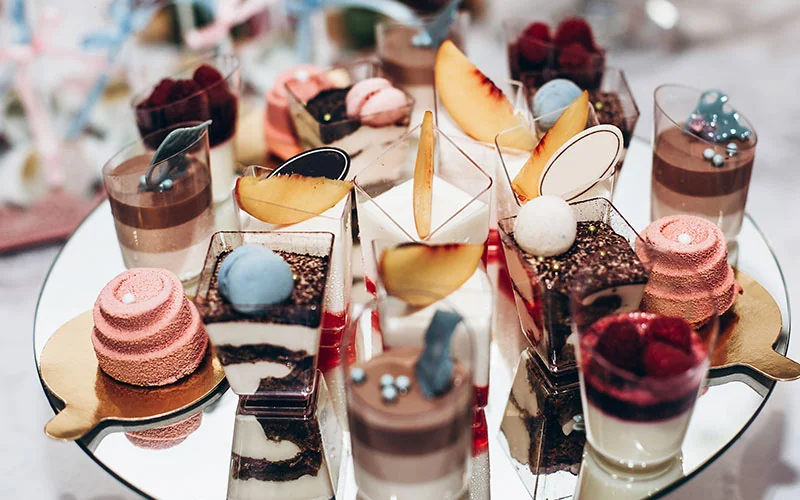
You make a strong first impression when you group similar items by type and size. Place dessert cups and compact plates in neat rows.
Keep heights even to avoid clutter. Use cake stands or low risers only if they actually help people see items without reaching over others—sometimes they just get in the way.
Keep mini spoons in one container instead of scattering them across the table; this saves space and just looks better.
Match colors if you can, or stick with clear food-grade PS for a simple, unfussy vibe.
Quick layout tips:
● Put disposable plates at the start of the table
● Place desserts in the center
● Set spoons and napkins at the end
Maintaining Cleanliness and Hygiene
Protect food quality by keeping serving tools separate from eating tools. Store extra mini spoons and plates behind or under the table, not next to open food.
Refill as needed instead of piling everything out at once. Choose food-grade PS tableware to avoid cracks or bending that can cause a mess.
Use compact plates to keep portions reasonable and reduce dropped crumbs.Wipe the table often, especially near dessert cups with soft fillings—those can get messy fast.
Post clear labels for shared items, and use tongs when possible. If guests serve themselves, put hand wipes nearby. These little touches make people feel a lot better about cleanliness, don’t they?
Eco-Friendly Disposal and Reuse
If you plan disposal before the event kicks off, you’ll cut down on waste right from the start. Put labeled bins for trash and recycling close to the table, not hidden across the room.
That way, people won’t just stack used plates on the table. It’s a simple thing, but it helps a lot.
Many food-grade PS items can go in the recycling, but it really depends on your local rules. Double-check your waste service account ahead of time so your labels make sense.
If you want to reuse, grab the sturdier dessert cups and wash them soon after everyone’s done; they’re usually good for another round.
Smart disposal setup:
● One bin for food waste
● One bin for recyclable tableware
● One bin for non-recyclable items