

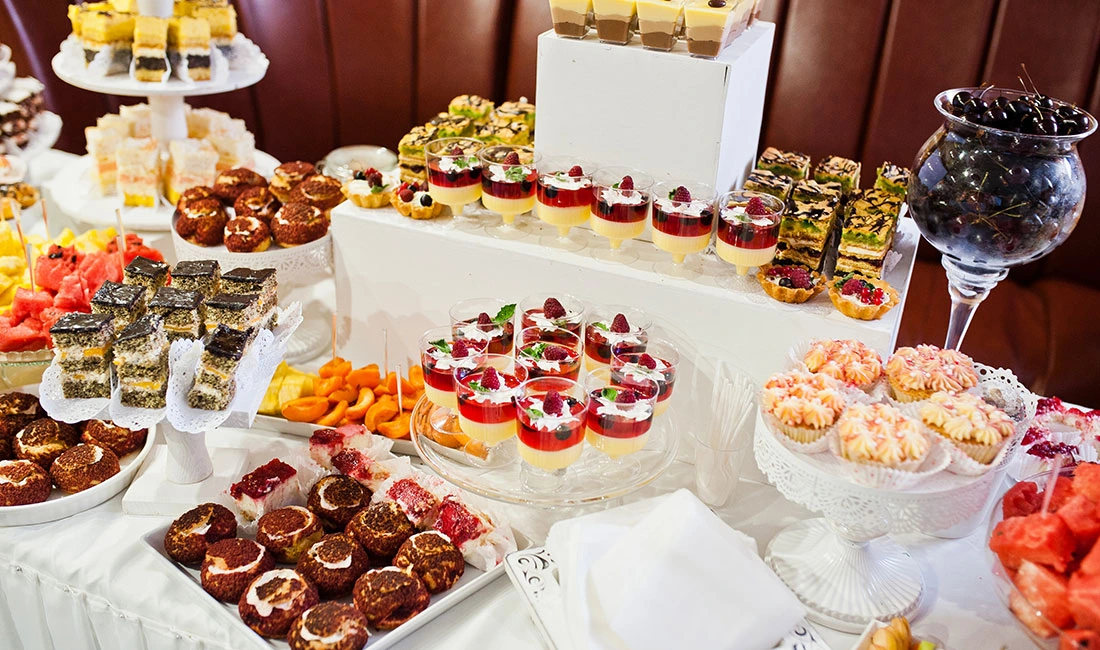
Planning a dessert table takes a bit of thought. You want it to look tidy, feel easy to use, and match your event’s size.
Small choices—like where you put things or how much you serve—really shape how guests move and what they enjoy.
You build a strong dessert table by planning the layout, picking smart portions, and using disposable serving pieces that look good and work well. When desserts fit the space and you use the right tools, the table stays organized and inviting.
This guide walks you through each step, from shaping the look of your table to keeping desserts fresh. You’ll also see how to pick disposable plates, stands, and utensils that save time but still look great.
Defining Your Dessert Table Vision
Getting clear on your vision helps you make smart choices before you buy desserts or supplies. It guides your design, keeps portions reasonable, and keeps clutter down.
Understanding Dessert Table Design
Dessert table design starts with how guests move and what they see first. You’ll choose between a symmetrical or asymmetrical layout based on guest count and space.
● Symmetrical layouts work well for bigger events like weddings. They mirror items on both sides and help control portions.
● Asymmetrical layouts feel relaxed and suit smaller events, like showers. They spread items out and invite browsing.
Use height to make the dessert display pop. Set cake stands or risers at the back and low trays in front.
Keep the center open so people can reach items without crowding each other.
Selecting a Party Theme and Color Scheme
Your party theme shapes every visual detail on the dessert table. Match desserts, linens, and serving pieces to your theme to keep things focused. Stick to a short color palette. Two main colors and an accent is usually plenty. This keeps things clean and easy to take in.
Theme and color approaches by event type:
| Event Type | Common Theme | Color Approach |
|---|---|---|
| Wedding | Elegant, formal | Neutrals with one metallic |
| Shower | Soft, seasonal | Pastels with white |
| Birthday | Fun, bold | Bright colors with contrast |
Don’t mix too many patterns. Solid colors on plates and trays help desserts stand out.
Deciding on Table Location and Size
Put your dessert table where guests can spot it but not block traffic. Corners near dance floors or walls work better than tight hallways.
Size the table to your guest count and layout style.
● Up to 25 guests: 4–6 ft table
● 30–60 guests: 6–8 ft table
● Large events: 8 ft or double-sided tables
Leave at least 3 feet of space around the table. This helps lines move and keeps desserts safe. For outdoor parties, avoid direct sun so nothing melts or spoils.
Step-by-Step Guide to Dessert Table Setup
A solid dessert table setup depends on height, balance, and clear flow. You decide how guests move along the table, what they notice first, and how easily they serve themselves.
Smart placement keeps things neat and helps the display last through the whole event.
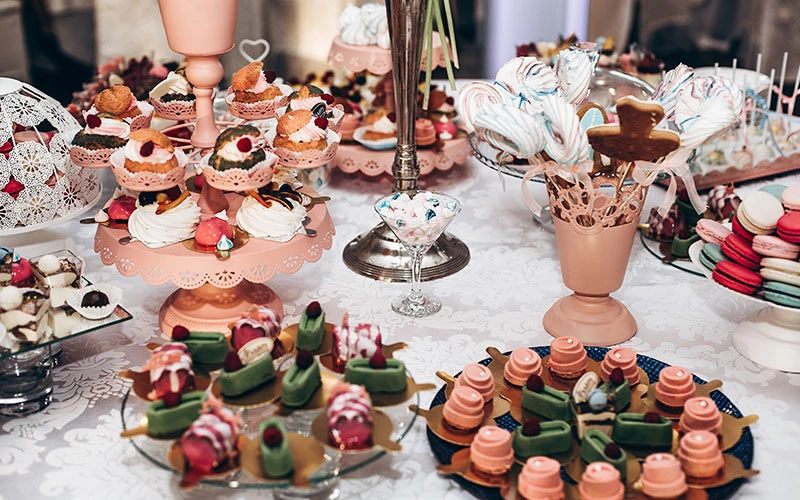
Layering With Different Display Heights
Start by building height from the back forward. Place cake stands, tiered stands, and sturdy display stands at the rear so tall items don’t block smaller ones.
Mix up the heights so the table doesn’t look flat.
A simple rule for vertical layering:
● Tall items: cakes, cupcakes on tiered stands
● Medium items: pies, tarts, brownies on risers
● Low items: cookies, candies, bars in trays or jars
Make sure each stand is stable and spaced out so people don’t bump hands. Keep height to what you can safely reach without tipping anything.
This setup lets guests scan options fast and pick what they want easily.
Arranging Desserts for Visual Impact
Group desserts by type and size instead of scattering them. When you group similar items, the table feels organized, not messy.
Put the main dessert—like a cake—near the center or just off-center as a visual anchor.
Use color with intention. Alternate light and dark desserts to avoid dull spots. For example, set chocolate desserts next to fruit-based ones.
Recommended table layout zones:
| Area of Table | Best Items |
|---|---|
| Center | Cake on cake stand |
| Sides | Cupcakes, tarts |
| Front | Cookies, bars |
Incorporating Decorative and Functional Elements
Pick decor that does more than just look good. Apothecary jars protect candies and add cool shapes. Disposable trays with raised edges keep crumbs and spills in check.
Add labels in front of each dessert. Keep the text short and easy to read. Mention allergens if you need to.
Leave space for plates, napkins, and utensils. Put them at one end of the table to keep things moving. Skip decorations that block access or eat up serving space.
Choosing and Showcasing Desserts
Your dessert picks shape how the table looks and how guests move through it. You want balance, clear placement, and treats that fit the season or theme.
Selecting a Variety of Desserts
Offer a variety of desserts so guests can try more than one thing. Mix up sizes, textures, and flavors so nothing feels repetitive.
A simple assortment strategy:
● Bite-size items: cupcakes, cake pops, macarons
● Small plated desserts: fruit tarts, petit fours, mini cheesecakes
● Rich accents: chocolate truffles
● Personal favorites: homemade treats
Plan portions on purpose. Go for 2–3 small pieces per guest if you’ve got lots of options. If you have fewer choices, bump up the portion size.
Pick disposable serving pieces that fit the dessert. Shallow trays work for macarons, while cupcake stands add height without crowding the table. Neutral colors let desserts stand out.
Placing Centerpieces and Signature Items
Anchor your table with one show-stopping cake or signature dessert. Put it at the center or just behind the middle so people see it right away.
Use sturdy cake stands or tiered displays to give key items some height. Height draws attention and stops the table from looking flat.
Leave space behind big cakes for cutting. Surround the centerpiece with smaller desserts in tidy groups. Don’t mix too many styles in one area.
Clear spacing helps guests pick what they want without reaching over others. Use labels for special items like cheesecakes or allergen-friendly treats.
Rotating Seasonal and Themed Treats
Pick desserts that match the season or event. Seasonal choices feel thoughtful and fresh.
Try this approach:
| Season | Dessert Ideas |
|---|---|
| Spring | fruit tarts, light cupcakes |
| Summer | macarons, cake pops |
| Fall | spiced petit fours, cheesecakes |
| Winter | chocolate truffles, rich cakes |
Swap out flavors and colors, but don’t redo your whole setup. Reuse stands and trays, just change liners or labels. It saves time and keeps the layout familiar, while desserts stay current.
Expert Tips for Dessert Table Layout
Good dessert table layout comes down to balance, spacing, and clear visual focus. You get better results when you plan the arrangement and use simple backdrops and signs to guide guests.
Symmetrical vs Asymmetrical Arrangements
Symmetrical layouts put matching items on both sides of a center point. You might center a cake, then add the same stands and desserts to each side. This style feels formal and works well for weddings.
Asymmetrical layouts use different items but keep things balanced. Maybe you put a tall stand on one side and group lower trays on the other. This feels relaxed and modern.
Here’s a quick guide:
| Style | Best for | Key tip |
|---|---|---|
| Symmetrical | Formal events | Match heights and counts |
| Asymmetrical | Casual parties | Balance height and color |
Keep 2–3 inches between items so guests can serve themselves easily.
Table Configuration Options
The table shape changes how people move and serve themselves. A straight table against a wall is best for small spaces. It also makes backdrops easy to hang.
For bigger rooms, put the dessert table in the center or try an L-shape. These setups help traffic flow and stop crowding.
● Put the tallest items at the back.
● Use stands to create height changes.
● Keep napkins and plates at one end.
Stick to one main focal point. Too many centerpieces make the table feel cluttered.
Using Backdrops and Signage
Backdrops frame the dessert table and grab attention. Use fabric panels, paper fans, or party printables that match your colors. Make the backdrop a bit wider than the table for a clean look.
Signs help guests figure out desserts and flavors. Small label cards work for mini desserts, while larger signs fit best near the center or above the table.
● Use simple fonts.
● Keep text short.
● Match signs to your dessert table style.
Skip glossy signs near bright lights—glare makes them tough to read.
Smart Portion Planning
You keep costs, waste, and guest happiness in check by planning portions. Set clear serving targets and offer a balanced mix so guests can sample a couple desserts without going overboard.
Calculating Dessert Quantities per Guest
Start with your guest count and how long the event lasts. For most events, plan 2–3 dessert servings per guest. Short parties need less, but longer events or dessert-only tables need more.
Mini sizes work best and help cut down on waste. Slice cakes smaller and offer bite-size treats.
Quick planning guide:
| Dessert type | Portion per guest |
|---|---|
| Cake or pie | 1 small slice |
| Cupcakes | 1 mini |
| Cookies or bars | 1–2 small pieces |
| Dessert cups | 1 small cup |
Add 10–15% extra to cover seconds. Don’t go overboard with big buffers that just lead to leftovers. Adjust up if there’s no dinner or if dessert is the star.
Balancing Individual Servings and Shared Treats
Mix individual servings with shared items to support a variety of desserts. Individual items keep lines moving and help with portion control.
Shared treats add visual interest and give guests more choices. Try for 60–70% individual servings and 30–40% shared desserts.
Mini cupcakes, cookies, and dessert cups are easy to grab. Use one or two cakes or tarts as your shared options. Label shared items with slice counts, and pre-cut when you can to guide portions.
Put serving tools at each item so people don’t overserve. This setup lets guests try more flavors and keeps things tidy.
Best Disposable Serving Pieces and Utensils
The right disposable pieces make serving desserts cleaner and keep your table organized. Go for sturdy plates, easy-to-hold utensils, and serving tools that fit the dessert’s size and texture.
Recommended Disposable Plates and Bowls
Pick plates and bowls based on weight, moisture, and portion size. Thin paper plates just bend under cake and pie, so use heavyweight paper or plastic for anything plated.
Bowls work better for soft or messy desserts.Here’s a quick guide:
| Dessert | Plate or Bowl Type | Why it Works |
|---|---|---|
| Cake, brownies | 7–9 inch plastic plate | Holds weight without sagging |
| Cupcakes | Dessert plate with rim | Catches crumbs and frosting |
| Pudding, mousse | Small plastic or paper bowl | Prevents spills |
| Cookies, bars | Heavy paper plate | Easy grab-and-go |
Use clear plates when you want desserts to stand out. Neutral colors won’t clash with your table design.
Top Disposable Utensils and Serving Tools
Match utensils to each dessert’s texture. Forks are great for cake and bars, while spoons work best for soft or layered treats. Flimsy cutlery just snaps, so skip it. Here’s what you really need:
● Cake server: Flat edge lifts clean slices
● Tongs: Handy for cookies, donuts, and pastries
● Large spoons or ladles: Good for parfaits and pudding cups
● Cupcake liners or wraps: Keep hands clean
Put serving utensils next to each shared dessert with handles facing forward. Disposable display stands or tiered trays save space and make things easier to reach.
Presentation Tips for Eco-Friendly Options
Eco-friendly serving pieces can look sharp if you plan ahead. Palm leaf plates and wooden utensils add texture and hold up under most desserts.
They also resist heat and moisture better than thin paper. For a clean look, try these tips:
● Stick to one material type per table
● Pair wooden utensils with neutral plates
● Use compostable cups for layered desserts
● Add small labels so guests know what to grab
Use simple disposable display stands made from cardboard or molded fiber to add some height. Keep taller items in back, shorter ones in front, so everyone can see what’s available.
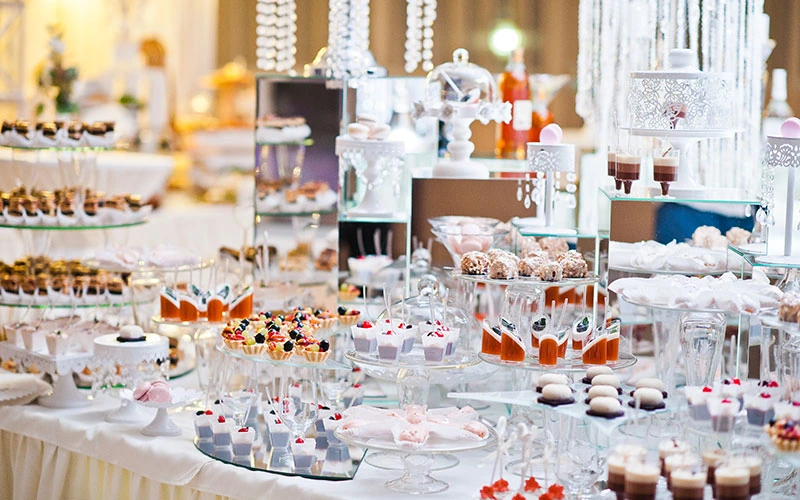
Keeping Desserts Fresh and Presentable
Protect flavor and appearance by timing your setup well and using simple barriers during the event. Some planning goes a long way to keep desserts fresh while guests help themselves.
Choosing the Right Time for Setup
Set up most desserts 1–2 hours before guests arrive. This window limits air exposure and helps prevent drying or melting.
Keep anything with cream, custard, or fresh fruit in the fridge until the last 30 minutes. Here’s a quick timing guide:
| Dessert Type | Best Setup Time |
|---|---|
| Cookies, brownies | 2 hours before |
| Cupcakes with buttercream | 60–90 minutes before |
| Cream pies, cheesecakes | 30 minutes before |
| Chocolate treats | 30–60 minutes before |
Keep backup trays in the fridge or cooler. Refill in small batches to keep everything fresh and the table looking good.
Protecting Sweets During the Event
Cover desserts if you can. Try clear dome lids, cellophane wraps, or bakery boxes—they block air and dust but still show off your treats.
For trays you can’t cover, just keep them away from doors, windows, and heat. That helps more than you’d think.
Pick tools that cut down on handling:
● Tongs and small scoops work well for cookies and candies.
● Cupcake liners with taller sides help protect frosting from bumps.
● Wax paper or parchment under bars can soak up a bit of moisture.
If the room’s warm, stash chilled desserts on insulated trays or ice packs under risers. Not everyone does this, but it really helps.
Swap out items every 30–45 minutes to keep things looking fresh. That way, textures stay firm and nothing gets messy or crowded.