

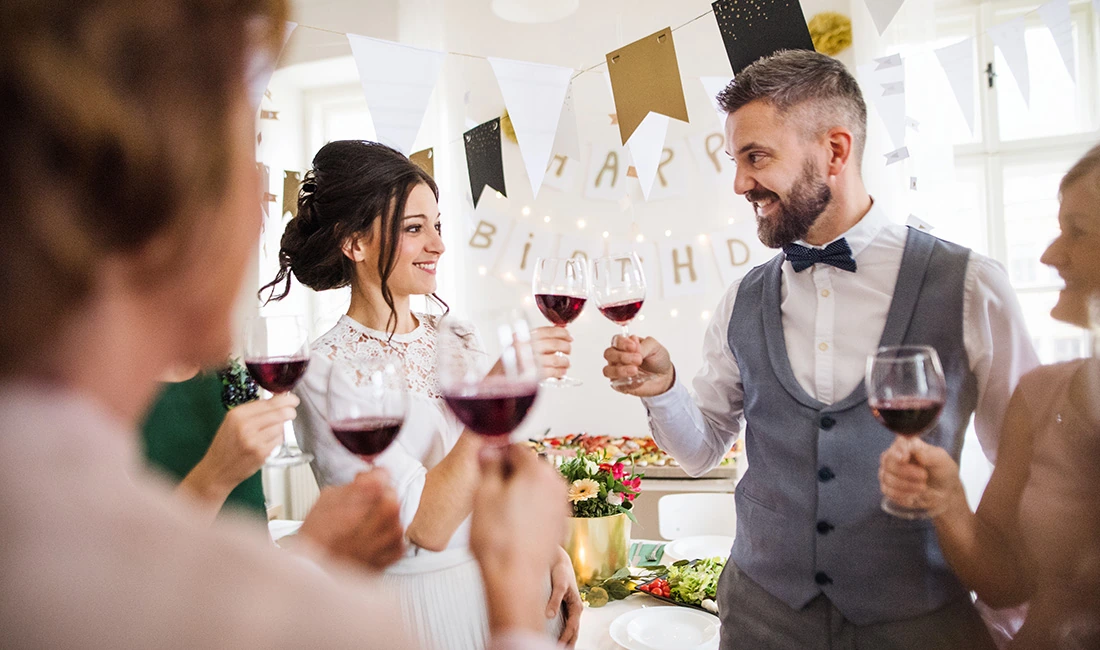
Planning an engagement party gets a lot easier when you know what to set out. Tableware really shapes how the whole event flows, from appetizers to drinks.
You want guests to snack, sip, and mingle without confusion or clutter. Serving plates for appetizers, wine cups or glasses, basic cutlery, napkins, and a few shared serving pieces cover the essentials for easy hosting.
When your tableware matches the menu and drink plan, setup feels simple and cleanup doesn’t drag out. This guide covers what to put on the table, how to plan appetizers, and how to keep wine and drinks stress-free.
You’ll also find tips for quick setup, smart layout, and a bit of décor that makes the space feel inviting without extra effort.
Essential Tableware for Engagement Parties
You need tableware that handles light food, steady drinks, and easy movement. Focus on sturdy pieces that fit your guest count and menu, and keep a few extras handy just in case.
Plates and Appetizer Dishes
Plates are the base for every bite, so size and quantity matter. For a standing party, pick small appetizer plates—6 to 8 inches is perfect.
Plan for 1.5 to 2 plates per guest. People usually come back for seconds, and clean extras keep things looking fresh.
Mix in a few larger plates if you’ve got shared items like flatbreads or cheese boards. Appetizer dishes add variety—shallow bowls for dips, small plates for desserts.
Stick with simple colors so food pops, and mismatched refills blend in. No need to get too fancy.
Wine Cups and Glassware
Glassware should fit your drink menu and how guests move around. If you’re serving champagne, go with flutes or coupe glasses that feel sturdy.
For wine, standard stemmed glasses work, but stemless cups help prevent spills. Plan for one glass per guest per drink type, plus a few extras for good measure.
If space or budget is tight, high-quality reusable cups are flexible and still look nice. Water glasses matter too, even for short events.
Put them near drink stations so guests can pace themselves. Clear glass keeps things looking clean and avoids color clashes with wine and champagne.
Cutlery and Serving Utensils
Even with mostly appetizers, you’ll need the right cutlery. Offer small forks for things like skewers or fruit, and butter knives if you have cheese or pâté.
Match cutlery numbers to plates, with a little buffer. Stainless steel works for both casual and formal parties and holds up well.
Serving utensils keep things tidy. Use tongs for finger foods, serving spoons for salads, and a cake server if you have dessert. Keep backups close so you can swap them quickly.
Napkins and Coasters
Napkins protect clothes and tables, so don’t skimp on quality. Go for thick paper or cloth napkins that can handle oils and spills.
Plan for 2–3 napkins per guest, especially if the menu is hands-on. Fold napkins at food and drink stations to keep things tidy.
Neutral tones work with most themes and hide stains better than bright white. Coasters save tables from drink marks—cork, wood, or absorbent paper all do the trick.
Scatter them wherever guests might set down their drinks, and make sure they stay flat and stable.
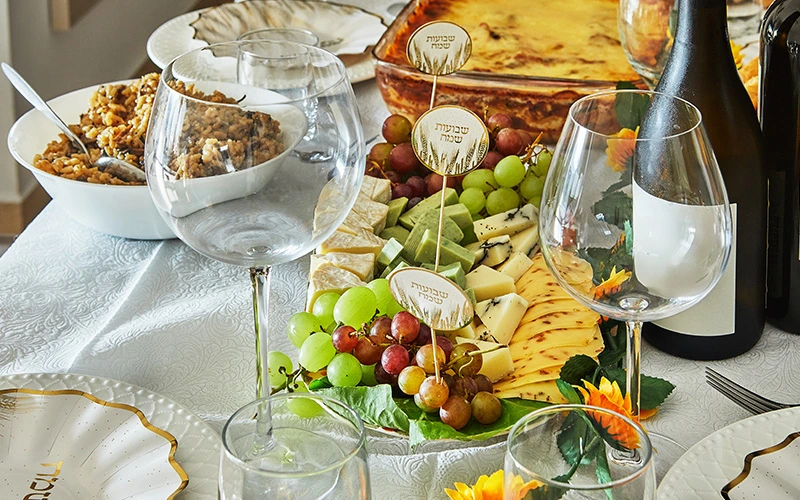
Appetizer Planning and Setup
Good appetizer planning keeps guests happy and helps the party flow. Stick to easy-to-eat foods, a clear buffet layout, and simple ways to cover dietary needs.
Popular Engagement Party Appetizers
Pick appetizers guests can eat in two or three bites. This keeps plates clean and lines moving.
Finger foods are best for standing and mingling. Think mini sliders, bruschetta, caprese skewers, charcuterie cups, and shrimp shooters.
Add one warm item, like chicken skewers or stuffed mushrooms, to balance all the cold stuff. Aim for 4–6 bites per person if you’re not serving a full meal.
If you’re using catering, ask for a mix—meat, seafood, and veggie options. Keep sauces on the side to avoid messes on plates.
Buffet Table Arrangements
Set up the buffet in a straight line so guests move one way. Put plates first, then napkins, then food.
Utensils and wine cups go at the end to prevent crowding. Group appetizers by type—cold with cold, warm with warm.
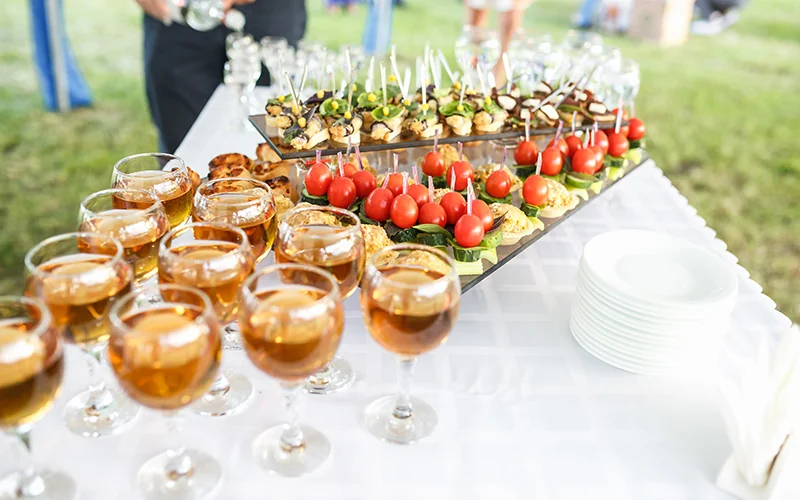
Use raised trays or stands to add height and save space. Label each dish with a small card so guests know what’s what.
Leave at least 24 inches of table space per food section. This gives people room to serve themselves without bumping elbows.
Refill smaller trays often instead of piling everything on at once.
Accommodating Dietary Restrictions
Plan for common dietary needs from the start—vegetarian, vegan, gluten-free, and nut-free. You don’t need separate menus, but you should have clear choices.
Offer at least one appetizer for each major restriction, like veggie skewers, hummus with gluten-free crackers, or fruit cups. Keep these on a separate tray to avoid cross-contact.
Label all dishes clearly. Tags like contains dairy or gluten-free help guests decide fast.
If you’re working with catering, double-check ingredients ahead of time and ask how they avoid cross-contamination.
Wine and Drink Service Essentials
The drinks you serve and how you set them up really shape the party’s vibe. A clear plan helps you pick the right beverages, match them with good drinkware, and keep guests moving and comfortable.
Choosing Wine and Beverages
Offer a small but balanced drink selection. This keeps choices simple and limits waste.
Include three core options:
-
One sparkling wine or champagne for toasts
-
One white wine and one red wine
-
One non-alcoholic drink, like sparkling water or lemonade
Plan on about one drink per guest per hour. For wine, that’s roughly five glasses per standard bottle.
Keep extra non-alcoholic drinks on hand so everyone feels included. Serve drinks at the right temperature—chill whites, sparkling wine, and champagne first, keep reds at a cool room temp.
Add simple labels so guests know what they’re pouring.
Drinkware Options for Parties
Pick drinkware that fits your guest count and menu. You don’t need a different glass for every drink, but size and shape do matter.
Common choices:
-
Wine cups or stemless glasses for red and white
-
Champagne flutes or small wine cups for bubbly
-
Water glasses for non-alcoholic drinks
Plan for 1.5 to 2 glasses per guest. This cuts down on constant washing.
If you go with disposables, pick sturdy ones that won’t bend or leak. Place glasses near the drinks, not across the room, so guests don’t have to wander and risk spills.
Beverage Station Setup
Set up one main beverage station in a visible, easy spot. Keep it away from food tables to avoid crowding.
Your station should have:
-
A table or bar surface
-
Ice bucket with scoop
-
Napkins and coasters
-
Trash and recycling bins
Group drinks by type—wines together, non-alcoholic drinks together, champagne at the end for toasts. Small signs help guests serve themselves with confidence.
If you’ve got the space, add a water-only area to cut down on lines and keep everyone hydrated.
Streamlined Hosting Setup
A smooth setup saves time and keeps guests at ease. Focus on smart table layout, good lighting, easy movement, and simple cleanup so you can actually enjoy the party.
Table Arrangement and Decor
Put food and drinks where guests can reach them without crowding. Use one main table for appetizers and a smaller side table for drinks and wine cups.
Keep the center of each table open to avoid clutter. Choose low centerpieces so guests can see each other.
Simple florals, greenery, or small candles work well. Stick to a limited color palette for a calm, clean vibe.
Use sturdy plates and napkins that match your decorations. Stack items in the order guests use them—it really speeds things up.
Lighting and Ambiance
Good lighting helps guests relax and move around with confidence. Use soft, warm lights instead of harsh overhead bulbs.
String lights look great along walls or ceilings. Add candles to tables for a cozy glow, but keep them away from food and walkways.
LED candles are safer if kids are around or space is tight. Make sure food and drink areas stay well lit so guests can see labels and serving tools.
Guest Flow and Seating
Plan clear paths between tables, seating, and entry points. Don’t put chairs near food tables—it just invites traffic jams and spills.
Offer a mix of seating. A few chairs for older guests, plus plenty of open space for mingling, works best.
Small groupings let people chat without blocking movement. If things feel crowded, pull out extra furniture—open space matters more than full seating here.
Cleanup and Ease of Use
Disposable or compostable tableware saves time at the end. Pick sturdy stuff that can handle appetizers and wine—no one likes a flimsy cup.
Set out labeled trash and recycling bins in visible spots, near food tables but not in the way. Keep wipes, paper towels, and extra napkins close for quick cleanup.
Decorating for an Inviting Atmosphere
Simple décor goes a long way in making the party feel personal and planned. Focus on flowers, clear signs, and little details that tie your tableware and food setup together.
Floral Arrangements and Fresh Flowers
Fresh flowers add color and warmth without much effort. Use low floral arrangements so guests can see and talk across the table.
Keep centerpieces compact and stable, especially near food and drinks. Choose flowers that fit the season and your color plan—white roses, greenery, or wildflowers are all easy wins.
Skip heavy scents near food. Some quick placement tips:
-
One main arrangement for the food table
-
Small bud vases for guest tables
-
Greenery runners for buffet or dessert areas
Big vases just block views. Simple flowers usually look cleaner and even photograph better, honestly.
Themed Decorations and Signage
Clear signs and a little décor help guests figure out where to go. Use welcome signs, food labels, and drink menus to guide people and cut down on questions.
Match signs and banners to your theme and tableware colors. Clean fonts and sturdy paper look intentional without being fussy.
Keep décor to key spots so things don’t get cluttered. Some useful items:
-
Welcome sign at the entry
-
Banner above the main table
-
Small signs for drinks and desserts
Balloons and confetti are fun in small doses. Keep them away from food to keep everything clean.
Personal Touches: Photos and Cake Toppers
Personal details make your engagement party feel warm and real. Put a few framed pictures of you two on a side table or shelf. Honestly, just pick a handful of clear, favorite shots—too many little ones can look cluttered.
Cake toppers instantly draw attention to your dessert table. Go with something that fits the vibe, like your initials, the date, or a short phrase. Just make sure the topper’s light enough so it doesn’t tip over and cause drama.
Easy personal accents:
-
One photo display near the guest book
-
A custom cake topper
-
Small table cards with your names
Final Hosting Considerations
Good hosting keeps the party moving and guests comfortable. A bit of planning around guests, activities, and keepsakes really helps avoid those last-minute headaches.
Guest List and RSVPs
Start with a guest list that fits your space and budget. Double-check that you’ve got enough plates, cups, and napkins for everyone.
Send invites out four to six weeks before the party. Digital invitations are honestly super convenient and make tracking RSVPs way easier.
Set a clear RSVP deadline. Don’t hesitate to follow up with anyone who hasn’t answered—final numbers help a ton with food and seating.
|
Item to Confirm |
Why It Matters |
|
Total guests |
Sets food and tableware counts |
|
Plus-ones |
Affects seating and drink supply |
|
Dietary needs |
Guides appetizer choices |
Entertainment and Activities
Pick entertainment that lets people chat and keeps things lively. Keep music loud enough to fill the space but not so loud that everyone’s shouting.
Plan a quick window for toasts or speeches. Two or three minutes per speaker is plenty—no need to drag it out.
Simple activities help guests mingle without any pressure. Honestly, the easier, the better.
-
Engagement trivia cards at tables
-
A shared memory or advice card station
-
A casual photo corner with props
Don’t overdo the schedule. Most guests just want time to talk and relax anyway.
Party Favors and Thank Yous
Choose favors that feel thoughtful or actually useful. Skip anything that’ll end up as clutter.
Some good ideas:
-
Individually wrapped sweets
-
Small candles or matches
-
Mini drink tags or coasters
Put favors near the exit so people remember to grab one. A little sign explaining why you picked them adds a nice touch.
Thank your guests in person during the party. Later, send a short message or card within a couple of weeks. If you can, mention the gift or something about the night—it makes it feel more genuine.
Capturing Memories
Think about how you want to capture the event from the start. Maybe you’ll hire a photographer for an hour or two to catch arrivals, toasts, and a handful of group shots.
If you’d rather not go pro, ask a friend you trust to snap photos during the big moments. Give them a short list of the shots you really want—don’t overthink it.
-
Couple greeting guests
-
Toasts and speeches
-
Group photos with family
After the party, set up a shared album link. Invite guests to upload their photos so you end up with plenty of perspectives from the day.